Blog

6 Important Windows 11 Features
1. Set up how your device checks for updates
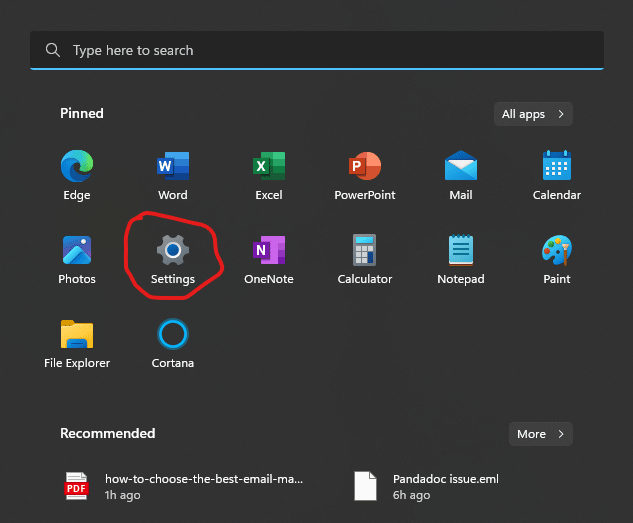
New laptops usually automatically check for updates, but you should review the setting, to make sure. Click the gear icon above the Start button to go to Settings, choose Windows Update, and then click Check for updates.

You can also type “updates” into the Windows search box and then click Check for updates. Note that if your PC is part of a corporate network, this feature may be disabled and controlled by your IT department.
2. Create a restore point
Creating a restore point for your laptop is crucial, especially if you have a complex configuration. A Windows restore point is a backup of the entire operating system kept around “just in case” there is an issue – saving a lot of work to manually put things back in place.
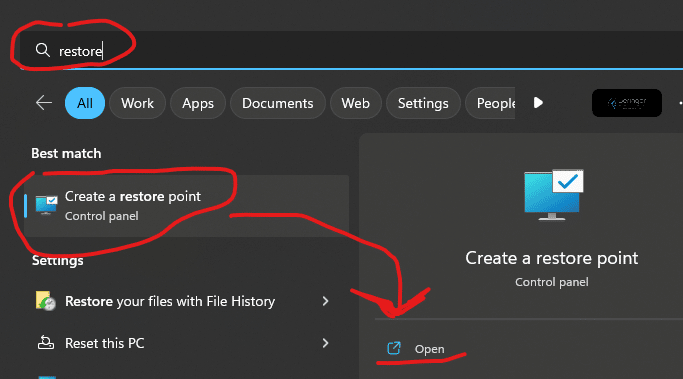
To set up a restore point, simply type “restore” into the search bar and click Create a restore point.
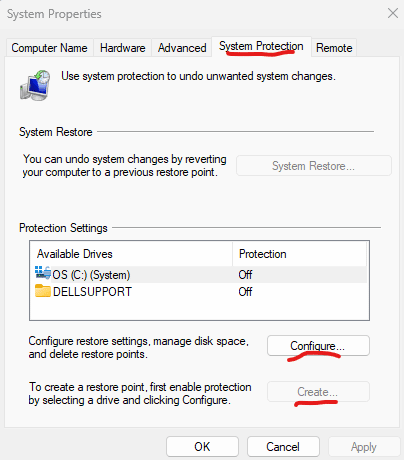
Within the System Protection tab of the System Properties window, you can choose what you want to have included in the backup.
- Click the Configure button to apply your choices.
- Enable “Turn on system protection” if it’s not already on.
- Finally, decide how much disk space to reserve, which is ideally not more than 2–3% of your total disk space.
3. Choose a power plan
To help prolong your laptop’s battery life, you can choose from Windows 11’s Power Saver, High Performance, and Balanced power plans.
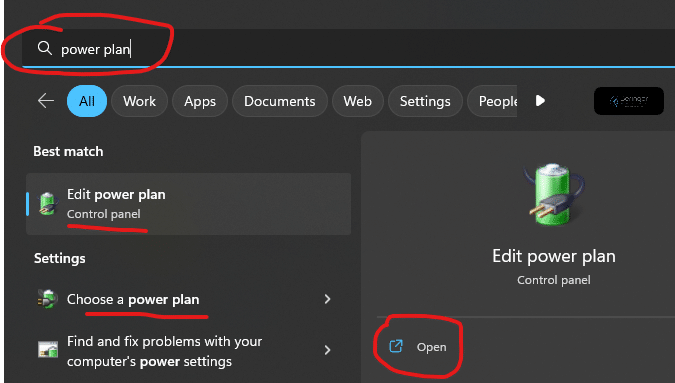
- Type “power plan” in the search button and choose either “Edit power plan” or “Choose a power plan.”
- Choosing the Edit power plan option allows you to set when the laptop display will be automatically turned off and when it will go to sleep.
- When you pick “Choose a power plan,” it will take you to a page where you can create and customize your power settings.
The default recommended plan is Balanced, but if you want to create your own, click on the “Create a power plan” option on the left part of the screen. You can choose from three options depending on how you plan to use your laptop: Balanced, Power Saver, and High Performance. After selecting your preferred plan, give your new power plan a name, then click Next to set the display and sleep settings for your laptop. Once done choosing your preferred power settings, click on Create and you’re good to go.
4. Set app installation tolerance level
For added security, you can restrict which apps can be installed on your laptop. Do this by going to Settings > Apps > Advanced app settings
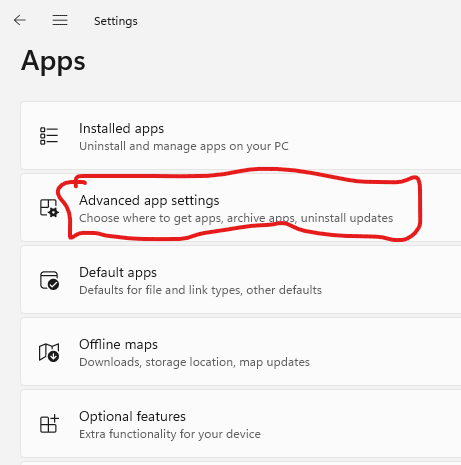
From here, you can configure the “Choose from where to get apps” settings.
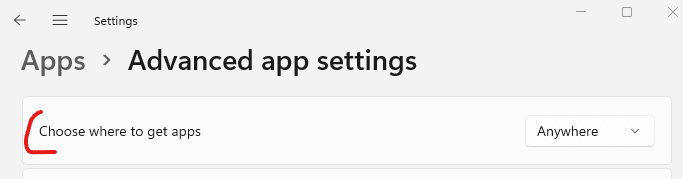
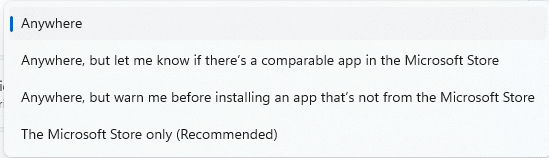
You can choose whether to permit installations from only the Windows Store, any app installations (with a warning), or unrestricted app installations.
5. Remove bloatware
Some vendors package new laptops with bundled apps and software, which are mostly unnecessary and unwanted programs called bloatware.
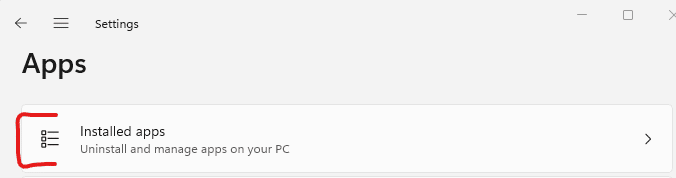
Windows 11 offers an easy way to see which apps are installed on your new laptop and a quick way to uninstall those you don’t need. Head to Settings > Apps > Installed Apps and peruse the list of installed apps. If you don’t want an app and are 100% certain that your computer doesn’t need it, click on the hamburger menu to the right of the app, then choose Uninstall.
The Beringer Team recently posted a blog that focused on removing “bloatware” from PCs, with more in-depth details on this topic:
————-
6. Activate anti-ransomware
Ransomware is a form of malicious software that locks down your PC, and your data, until you pay a ransom fee. Paying the fee does not guarantee that you will be able to unencrypt your data.
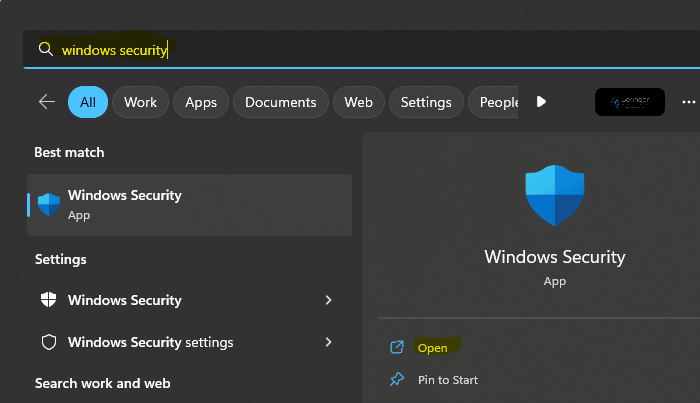
To minimize the risk of ransomware attacks, type “Windows Security” into the search bar at the bottom of your screen and click on the Windows Security result.
Go to Virus & threat protection:
Click Manage settings under “Virus & threat protection settings” > “Ransomware Protection” > “Controlled folder access”.
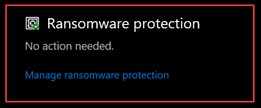
From there, click the Manage Controlled folder access option and enable Controlled folder access; this protects you against ransomware attacks.
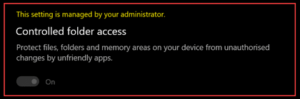
By default, the Desktop, Documents, Music, Pictures, and Videos folders are protected, but you can add other folders that you’d like to be protected from ransomware. Note that if you are working on a Windows 11 device managed by your employer, you may not have access to enable this feature. Also, some 3rd party anti-virus protection suites will hide this option.
Need help managing Windows 11 settings for yourself or your team? This article barely scratches the surface of only 6 important Windows 11 features. Contact the Beringer team today! We can assist with navigating all the new features in Windows 11.
Beringer Technology Group, a leading Microsoft Gold Certified Partner specializing in Microsoft Dynamics 365 and CRM for Distribution also provides expert Managed IT Services, Backup and Disaster Recovery, Cloud Based Computing, Email Security Implementation and Training, Unified Communication Solutions, and Cybersecurity Risk Assessment.
Recent Posts


How can we help?
Whether you're seeking a fully managed IT solution or expert assistance with a Microsoft solution, we're here to provide expert advice whenever you need it.
Call us at (800) 796-4854 or complete the form below and we'll help in any way we can.